A place for everything, and everything in its place.
A Totally-Not-Boring Blog About Storage
Organizing and Storing Your Camping Gear
Table of Contents
- Gather your camping gear
- Get rid of Equipment that you don’t need
- Clean your equipment
- Decide how you want items organized
- Make an inventory and label your gear
- Use storage containers for easy access
- Make the most of the space you have
- Shelves are your best friend
- Store camping equipment in a cool dry place
- Tips for storing tents
- Tips for storing sleeping bags
- Rent a storage unit for your camping gear

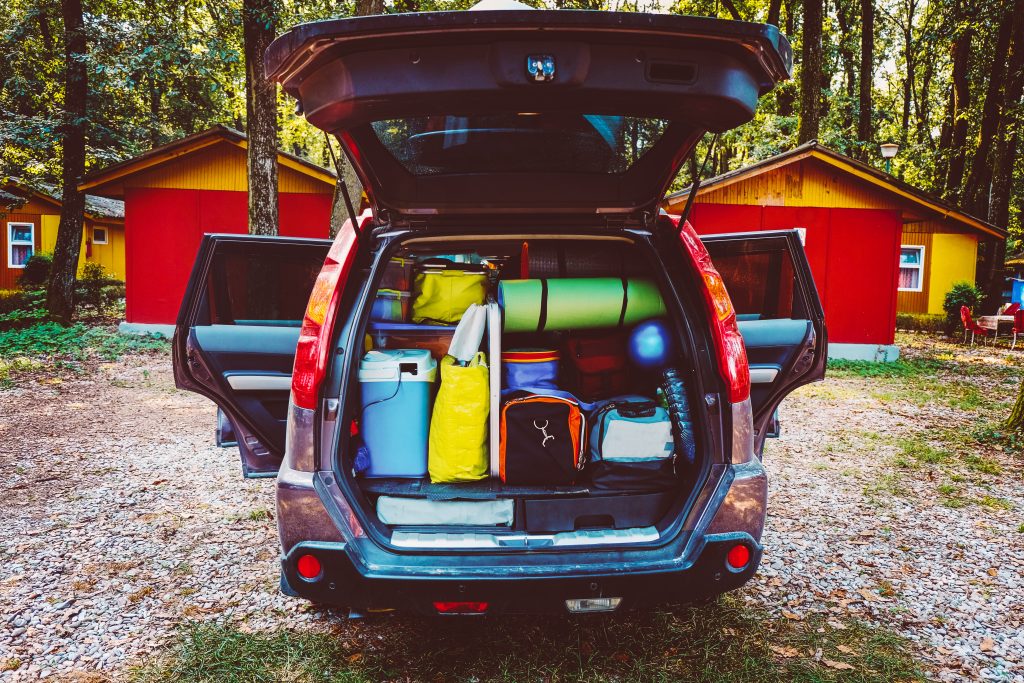
Your workweek is coming to a close and the only thing on your mind is the two days of uninterrupted outdoor adventure that lie ahead of you. All you need to do is pack your gear and hit the road. All of a sudden, its midnight on Friday and you’re rummaging through piles of clothes and equipment desperately searching for your hiking boots.
Camping is a great way to reconnect with nature and escape the bustle of big city life, but if you have to spend hours digging through unorganized camping gear, it can severally dampen the experience. Storing your camping equipment smartly can minimize clutter, protect them from damage, and help you keep track of your essentials all year long. If you live in a big city like Toronto, renting a self-storage unit in Etobicoke, Scarborough, or Mississauga at a Storwell self-storage facility is one of the easiest ways to make sure that your camping gear stays in great condition and is ready for your next big trip.

Once you get into outdoor hobbies, like camping, your gear adds up quickly. If you are an experienced camper with a lot of equipment, consider storing your gear in a self-storage unit to free up some space at home. Properly organizing your gear between trips allows you to not only get the most out of your equipment, but it allows you to embark on your outdoor adventure free of stress.
When you start organizing your gear for the first time, you’ll likely find that you have much more gear than you thought. Don’t let organizing and storing all that camping gear stress you out, here are a few things to consider while organizing your camping gear to make the process go as smoothly as possible.
Gather your camping gear
The first step in the organization process may seem obvious, but you’ll need to take a moment to gather your existing supplies and gear. This will help you visualize what camping equipment you have available, along with what you don’t have.
A good way to visualize what you have and what you need is by laying everything out in a garage or living room. This also allows you to see what you may have copies of, that way you can leave these items in your storage unit, or get rid of them altogether.
Whether you are storing you camping gear at home or in a storage unit, the most important thing is to keep all of your gear together in one place. Having a dedicated spot for your gear makes both packing and unpacking so much less stressful.
Get rid of Equipment that you don’t need
It is important to go through your gear and decide which items you really use and which items you can afford to get rid of. Do you have any double-ups? Do you really need three stoves or four of the same jacket? If you don’t need something, sell it or give it to someone who could use it. A good rule of thumb is if an item hasn’t made it into your pack in the last two years, put it aside. Take some time to think it over and if you don’t think you need those items anymore, you can donate them to Goodwill or post them on Kijiji or Facebook.
Clean your equipment
Cleaning gear might be the last thing you want to do after a week of camping and outdoor activities, but it will make preparing for your next trip much easier. When you get home, set out all your gear and make sure everything is clean and completely dry before storing it away. Damp gear can develop mildew, leading to bad odors, especially from tents and sleeping bags.
Bonus Tip: Dryer sheets keep your gear smelling fresh- Stick a few dryer sheets in your camping bin and in with your tent and it will help mask any odors that may have developed in between camping trips.
- Sleeping bags- These can often be washed in the machine, but if you put them in the dryer, make sure to throw in a terry-cloth towel and some tennis balls. The cloth minimizes static electricity and speeds up drying time, while the tennis balls fluff the inside fill. You can also drape or hang your sleeping bag in a dry space indoors. If you want to dry your gear outside, make sure you don’t leave it in direct sunlight for too long, as UV light can degrade the fabric and urethane coating on waterproof items. Once the sleeping bag is dry and repacked inside its sack, remember to remove the bag and shake it out from time to time. Keeping a sleeping bag inside a bag for extended intervals can affect the insulation.
- Camping utensils and dishware– Its best to wash utensils and kitchenware as soon as possible. Take some dish soap and a few towels with you to the campsite so you can do it before leaving.
- Portable camping stoves – Refer to your owner’s manual for how to best clean and care for your camping stoves. Best practice is to wipe them down and make sure there is no food residue.
- Backpacks – Clean them by bathing them in warm soapy water. After a thorough rinsing, hang them to dry.
- Hiking boots – When you invest in good hiking boots, you need to care for them so that they take care of you. The best way to care for hiking boots is to follow the care instructions suggested by the manufacturer.
- Hydration equipment – Staying hydrated is incredibly important on camping trips, so pay special attention to the filters and bladders that comprise your hydration equipment. These are in constant contact with water and if you do not take the time to clean, sanitize, and dry them, mold and mildew can grow inside, which can make you sick.
- Tents- Should be dried completely before storing, and should never be stored in a tight space. This puts unnecessary stress on your tent fabric. Roll the tent up loosely and place it inside of a large pillowcase. Avoid folding it, packing it up too tightly, or packing it in hot or humid places.
- Electronics- Make sure you take the batteries out of any electronics before you put them into storage. The last thing you want is a corroded headlamp casing when you are packing up for a last-minute camping trip.
Decide how you want items organized
A lot of your camping gear can be organized into logical categories. You should make piles for different types of camping scenarios. Once you organize the items you need for a specific type of camping adventure, you can use the backpacks or tarps to store and transport some of those items.
You can also organize camping gear according to weather or season. If you tend to go camping in the same area but in a range of seasons, make spring, summer, fall and winter camping kits. The fact that a lot of your camping gear can be organized within itself and separated by scenarios and seasons will cut down on the need for as many storage containers, and you’ll only need to rent a small storage unit. Your self-storage unit will come in handy for storing and organizing off-season or unneeded camping gear.
Make an inventory and label your gear

Before you put away all of your gear in storage, make sure to take an inventory of everything that you own. This is a great way to make sure you have the gear you need, and figure out what you are missing. Now your gear will be easy to put into containers in order to keep it organized and protected in your storage unit. Camping gear inventories can also be used as checklists. Before you go on your next camping trip, take stock of what you’ve packed and make sure everything is where it should be.
Identify your most frequently used gear and make it easily accessible. As you’re sorting through your gear, ask yourself what gear you use the most often. Make that gear the easiest to grab. If you are planning a short trip that will only require you taking the essentials, they will be easy to find and you’ll be out the door a lot quicker.
Use storage containers for easy access
Not only will storage bins help ensure your stuff is stored properly; they’ll make packing for your next trip a breeze. Ideally, you would be storing your equipment in a cool and dark area, but if your storage room does get some sunlight, make sure to buy dark gray or black stackable plastic bins to protect your camping gear from UV light.
Organize your camping gear in bins by activity and add labels so items are easy to find. One bin can be for clothing, one bin can be for footwear, one bin can be for cooking and food utensils and one bin can be for smaller camping accessories like lanterns, portable chargers, sunscreen, and bug spray.
Make the most of the space you have
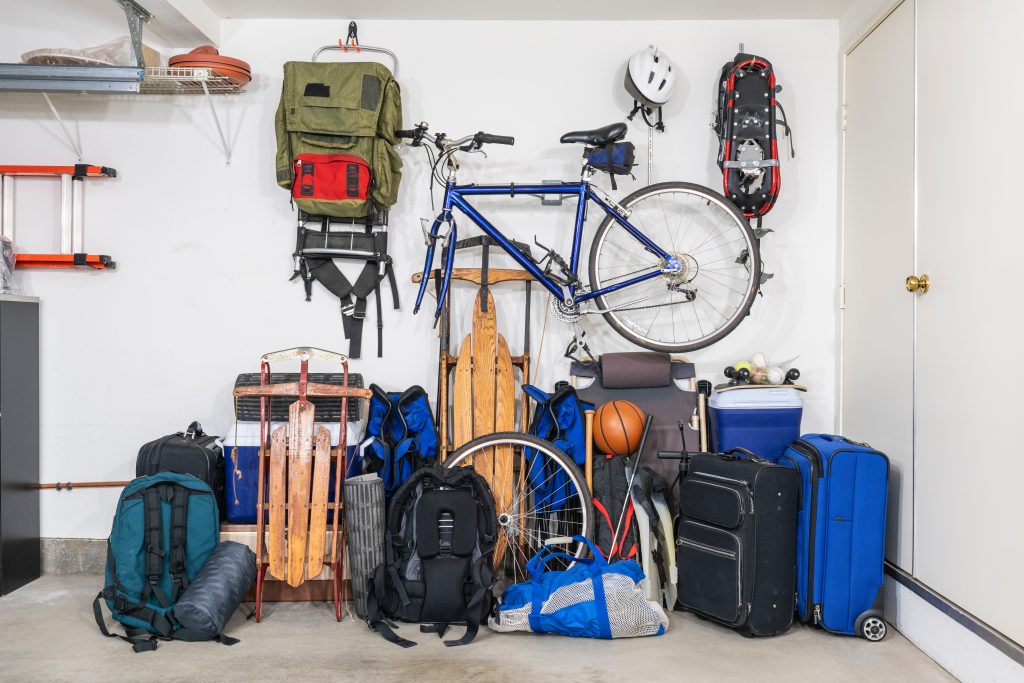
Make sure to use all the space available to you. Backpacks can still hold gear when you’re not using them. If there are packs you only use for certain activities, keep gear inside them that you’ll rarely need to take out. Organize packs by size or length of trip; this will also help streamline the packing process. If you’re running out of closet space, you can also install a curtain rod or steel pipe to hang clothing and camping gear from. Pegboards are one of the best ways to utilize vertical space, but if you plan on hanging heavy equipment, make sure that your board is installed securely.
Shelves are your best friend
If you have shelves, use them. If you have some space in your garage, think about getting some warehouse-style shelves that can hold a significant amount of weight. Keep your heavier gear-filled tubs on the floor or the very bottom shelf. On the middle shelves, store the lighter gear you’ll use during the season. Leave high shelves for gear that’s light, but out-of-season or rarely used.
Store camping equipment in a cool dry place
Storing all camping items together in one spot is ideal. Make sure the storage space you choose is cool, dry, and away from any direct UV light. If space in your home is limited, consider renting a self storage unit. Even if the unit is small, it will keep all of your gear safe, dry, and out of your way.
Tips for storing tents
Before being put away, tents should be dried completely and not stored in their stuff sacks. Tent fabrics need to relax and breathe, so roll your tent up loosely and place it inside a large pillowcase or mesh bag.
The best way to dry your tent out is to pitch it outdoors in a shady spot. Leaving your tent in direct sunlight for too long can degrade your tent’s fabric and urethane coating.
The best way to treat your poles is to store them partially assembled to take tension off the cord. If you don’t have enough space, collapse the poles by starting in the middle and working toward the ends to evenly distribute stress along the cord.
Tips for storing sleeping bags
If you’ve invested in a high-quality fill sleeping bag, it’s not a good idea to store your sleeping bag in a stuff sack, because its long-term lofting ability will be compromised. This applies to down or synthetic bags. Ideally, hang your sleeping bag up in a dry closet. If your closet has no space, pack your dry sleeping bag loosely in a large breathable bag and store in a cool, dry place. A mesh bag such as a laundry bag will also work.
Rent a storage unit for your camping gear
When it comes to figuring out how to store camping gear, you may find that renting a storage unit is the best option. Maybe your closets are already overflowing or your apartment doesn’t have a garage. The good thing about using a storage unit is that you can choose the size that best fits your needs. You can rent a closet-sized one if you’re only storing a few pieces of gear. However, there are also larger units that can fit all of your equipment, along mountain bikes, canoes, or even an RV.
Many storage units are also climate-controlled, which means you don’t have to worry about exposing your belongings to extreme outdoor temperatures or conditions. Make sure to select a storage facility like Storwell Self Storage that offers 24-hour access and lets you access your gear at all hours, so you can go off on your camping adventure at a moment’s notice.


